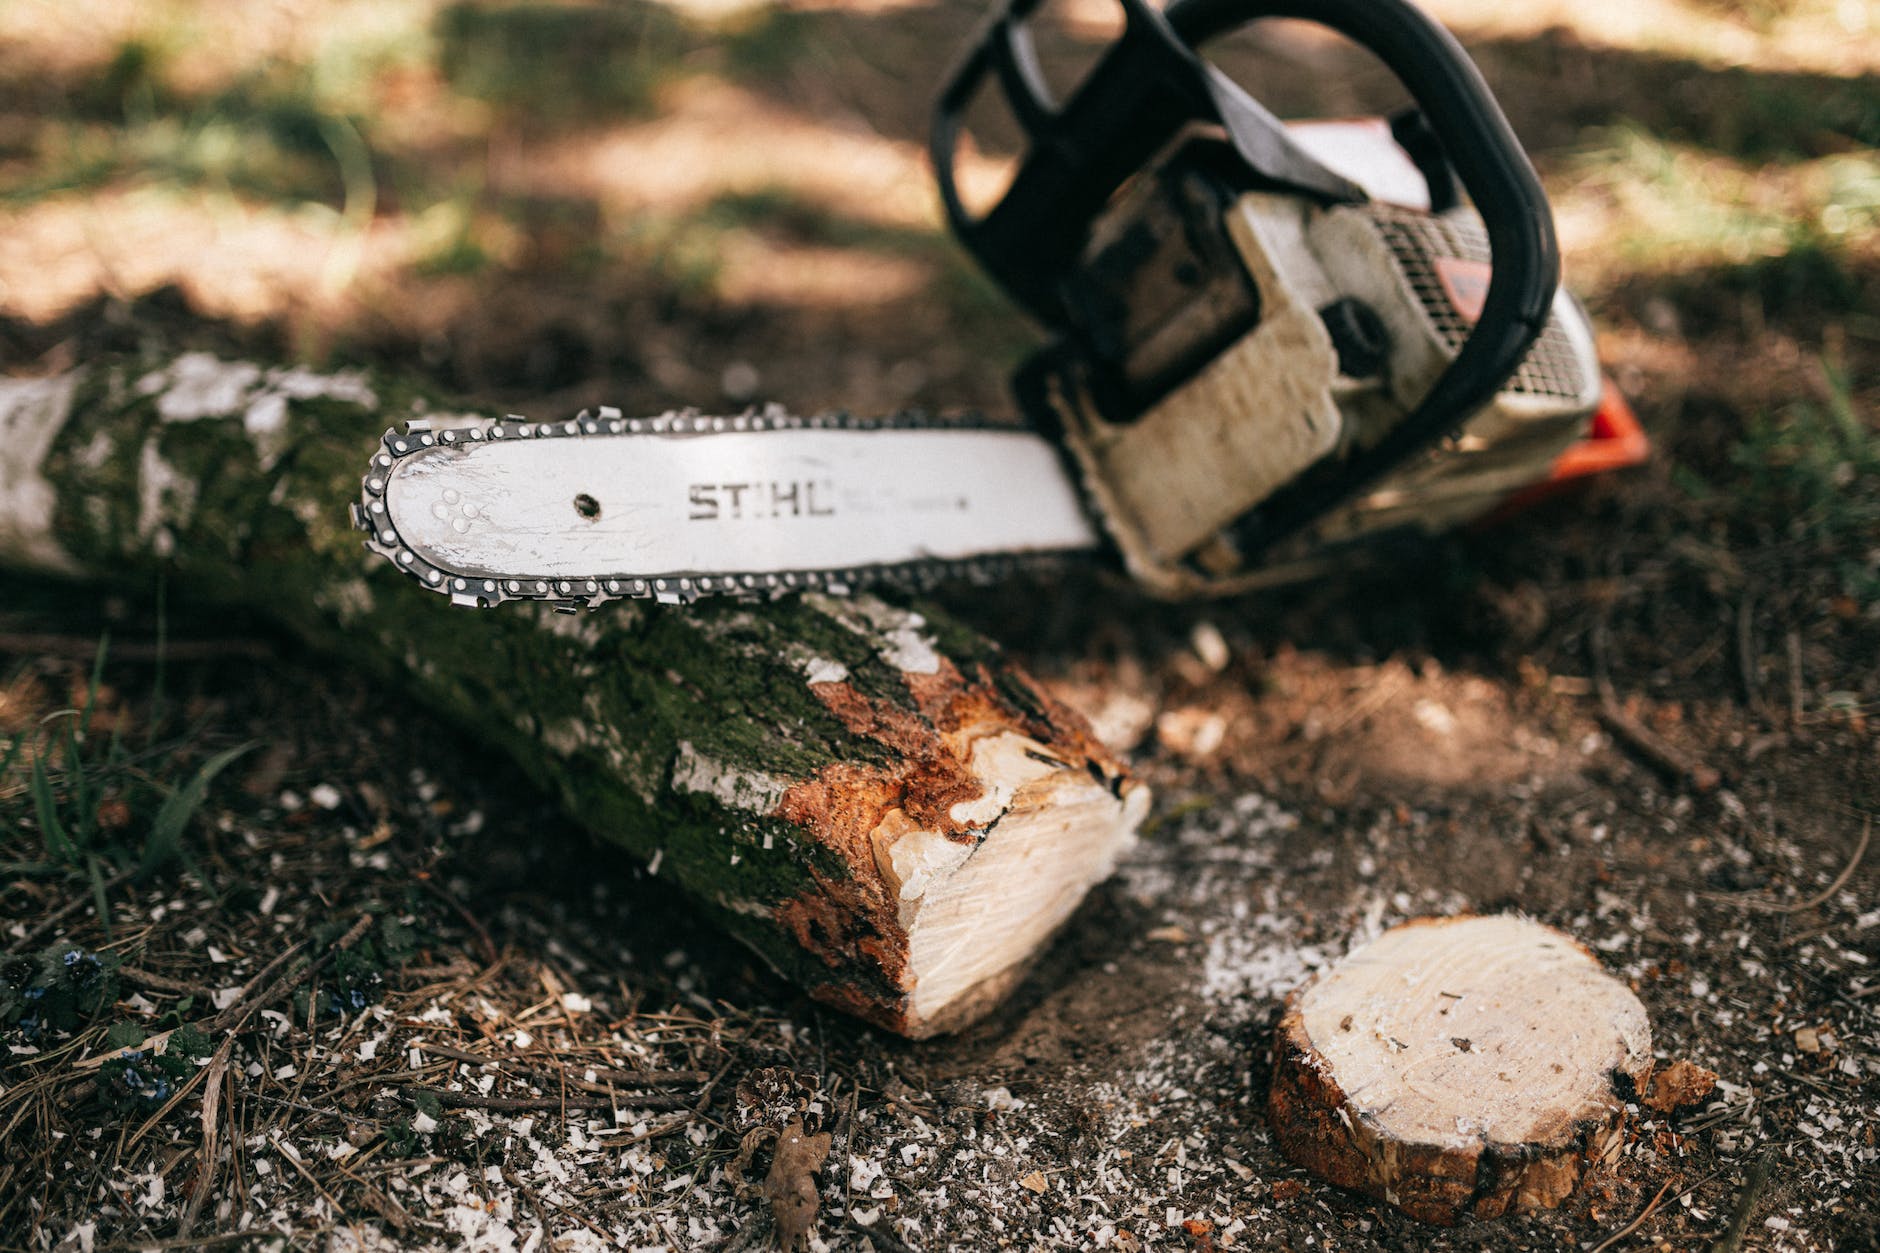
Maintaining a sharp chainsaw chain is crucial for both efficiency and safety when tackling tree-cutting tasks. Over time, chains can become dull due to normal wear and tear, necessitating regular sharpening to ensure optimal cutting performance. While there are various tools available for this task, using a file is a cost-effective and accessible method that allows you to take control of your chainsaw’s maintenance. In this comprehensive guide, we will walk you through the step-by-step process of sharpening a chainsaw chain with a file.
Step 1: Gather Your Tools and Safety Gear
Before diving into the sharpening process, it’s essential to gather the necessary tools and wear the appropriate safety gear to protect yourself. Here’s what you’ll need:
Tools:
- Chainsaw file
- Flat file or depth gauge
- Chainsaw guide (optional but recommended for beginners)
- Vice or a sturdy bench clamp
Safety Gear:
- Safety glasses
- Gloves
- Hearing protection
- Chainsaw safety chaps or pants
Step 2: Secure the Chainsaw
Safety is paramount, and securing the chainsaw properly is the first step in preventing accidents during the sharpening process. Follow these steps:
- Place the chainsaw on a flat and stable surface.
- If available, use a vice or a bench clamp to secure the chainsaw in place. This ensures stability and prevents any unexpected movement during sharpening.
Step 3: Identify the Cutter Teeth
Understanding the anatomy of your chainsaw chain is crucial for effective sharpening. Each chain consists of cutter teeth, which are the sharp blades responsible for cutting through wood, and depth gauges, which control the depth of the cut.
- Locate the cutter teeth – these are the small blades positioned on the chain.
- Identify the leading cutter, which is the first tooth you’ll start sharpening.
Step 4: Determine the File Size
Chainsaw chains come in different sizes, and using the correct file size is crucial for achieving the best results. Refer to your chainsaw manufacturer’s guide to identify the recommended file size for your specific chain.
- Measure the chain pitch – this refers to the distance between three consecutive rivets divided by two.
- Choose a file size that matches the chain pitch.
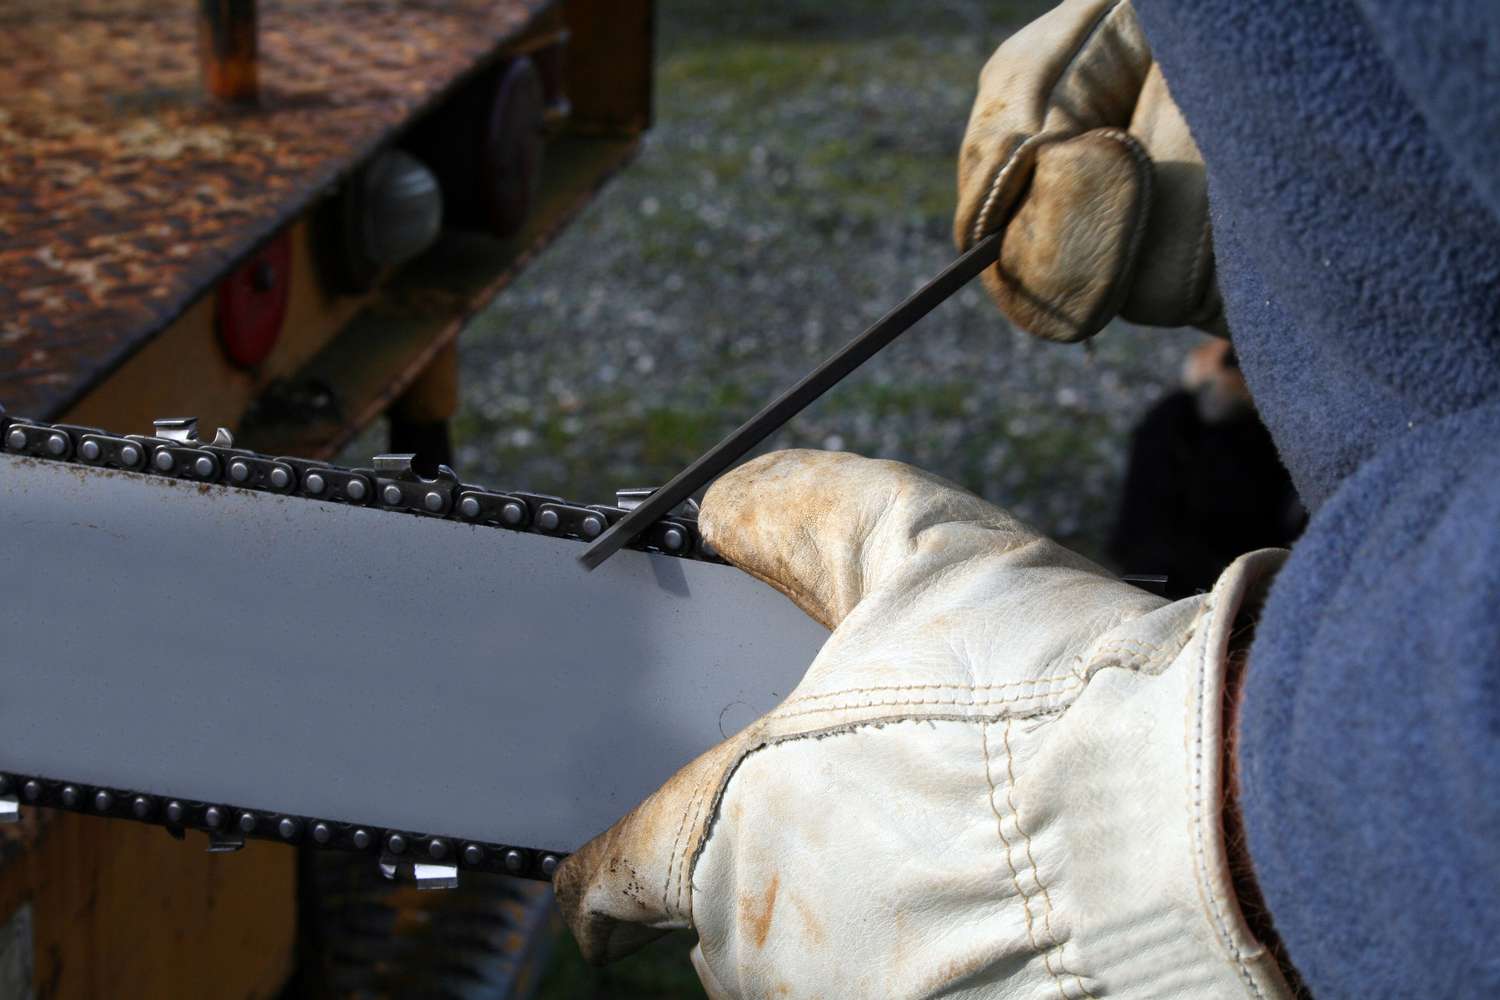
Step 5: Position the File
Proper file positioning is essential for maintaining the correct cutting angle and ensuring consistent sharpening. Follow these steps:
- Hold the file handle with your dominant hand.
- Place the file on the leading edge of the cutter tooth.
- Maintain the recommended filing angle, usually around 30 degrees.
Step 6: File the Cutter Tooth
Now, let’s move on to the actual sharpening process. Follow these steps for each cutter tooth:
- Push the file across the cutter tooth in smooth, even strokes.
- File from the inside of the cutter tooth toward the outside.
- Lift the file after each stroke and reposition it for the next stroke.
Step 7: Count the Strokes
Consistency is key when sharpening a chainsaw chain. To ensure each tooth receives an equal amount of filing, count the strokes for each one.
- Aim for the same number of strokes for each cutter tooth.
- Typically, three to five strokes per tooth are sufficient for maintenance sharpening.
Step 8: Sharpen the Depth Gauges
While sharpening the cutter teeth is crucial, don’t overlook the depth gauges. These control how much wood the cutter teeth remove in each pass.
- Use a flat file or a depth gauge tool to file down the depth gauges.
- Maintain the recommended depth as per your chainsaw’s specifications.
Step 9: Rotate the Chainsaw
Once you’ve sharpened all the cutter teeth on one side of the chain, it’s time to rotate the chainsaw to access the teeth on the other side.
- Release the chainsaw from the vice or bench clamp.
- Rotate the chainsaw 180 degrees to expose the opposite side of the chain.
Step 10: Repeat the Sharpening Process
Follow the same sharpening process for the cutter teeth on the opposite side of the chain. Ensure you maintain the same filing angle and stroke count for consistency.
Step 11: Check for Balance
A well-balanced chainsaw chain ensures smoother cutting and prolongs the life of the chain. After sharpening both sides, check for balance:
- Compare the lengths of the cutter teeth to ensure uniformity.
- File any teeth that appear longer until they match the others.
Step 12: Assess Tension and Lubrication
Before putting your chainsaw back into action, check and adjust the chain tension according to your chainsaw’s specifications. Additionally, ensure proper lubrication to reduce friction and heat during operation.
- Adjust the chain tension using the chainsaw’s tensioning system.
- Apply lubricating oil to the chain to prevent overheating and reduce wear.
Step 13: Test the Chainsaw
Before tackling any cutting tasks, perform a test to ensure your chainsaw is cutting smoothly and efficiently.
- Make a few test cuts on a piece of scrap wood.
- Assess the cutting performance and adjust the chain tension if necessary.
How frequently should a chainsaw be sharpened?
The frequency at which you need to sharpen a chainsaw depends on several factors, including how often you use the chainsaw, the type of wood you cut, and the conditions in which you operate the chainsaw. Here are some general guidelines to help you determine when to sharpen your chainsaw:
- Usage Frequency:
- If you use your chainsaw regularly for demanding tasks, such as cutting hardwood or large quantities of wood, it will require more frequent sharpening.
- For occasional users or those performing lighter cutting tasks, the chainsaw may need sharpening less often.
- Wood Type:
- Hardwood, like oak or hickory, can dull the chainsaw chain more quickly than softer woods.
- Resinous woods, such as pine, can leave residue on the chain, affecting its sharpness.
- Operating Conditions:
- Cutting in dirty or abrasive conditions, such as dusty environments or cutting close to the ground, can accelerate chain wear.
- Avoiding contact with the ground and keeping the chain away from dirt and debris can help prolong the sharpness.
- Signs of Dullness:
- Pay attention to the performance of the chainsaw. If you notice an increase in cutting time, excessive vibration, or a decrease in cutting efficiency, it may be time to sharpen the chain.
- Dull chains can also produce fine sawdust instead of chips and may cause the chainsaw to pull to one side during cutting.
- Check Chain Tension:
- Improper chain tension can lead to uneven wear and decreased cutting efficiency. Regularly check and adjust the tension as needed.
General Recommendations:
- Regular Inspection: Regardless of usage, it’s a good practice to visually inspect the chainsaw chain after each use. Look for any signs of damage, wear, or dullness.
- Sharpen Before Each Use (Occasional Use): For users who use the chainsaw infrequently, sharpening before each use may be sufficient to ensure optimal cutting performance.
- Every 2-3 Tanks of Gas (Frequent Use): For those who use their chainsaw more regularly, a general guideline is to sharpen the chain every 2 to 3 tanks of gas.
- Professional Assessment: If you’re unsure about the condition of your chainsaw chain, consider having it professionally assessed. A chainsaw service provider can determine whether sharpening is needed and address any other maintenance requirements
What is the typical cost associated with sharpening a chainsaw chain, considering both do-it-yourself methods and professional services?
.The cost of sharpening a chainsaw chain can vary based on several factors, including whether you choose to sharpen it yourself or take it to a professional service. Let’s explore both options:
1. Sharpening Chainsaw Chain Yourself:
If you decide to sharpen the chainsaw chain on your own, the cost will mainly involve the purchase of sharpening tools and accessories. Here are the potential costs associated with DIY sharpening:
- Chainsaw File: A single chainsaw file typically costs between $5 and $10, depending on the brand and quality.
- Flat File or Depth Gauge: Another essential tool for sharpening is a flat file or depth gauge, which can cost around $5 to $15.
- Chainsaw Guide (Optional): While not necessary, a guide can assist in maintaining the correct filing angles. Prices for guides vary, but a basic one might cost between $10 and $20.
- Safety Gear: If you don’t already own safety gear such as safety glasses, gloves, and hearing protection, these can add to the initial cost. Budget approximately $20 to $50 for a basic set of safety equipment.
- Total DIY Cost: The total cost for DIY chainsaw chain sharpening can range from $40 to $95, depending on the tools and safety gear you choose.
2. Professional Chainsaw Sharpening:
If you prefer to have a professional service sharpen your chainsaw chain, costs will typically involve labour and may include additional fees. Here are the potential costs for professional sharpening:
- Sharpening Service Fee: Professional sharpening services may charge a fee per inch of the chainsaw chain or a flat rate for the entire chain. Prices can range from $5 to $15 or more, depending on the service provider.
- Additional Fees: Some services may charge extra fees for tasks such as repairing damaged teeth or replacing missing or broken parts.
- Total Professional Cost: The total cost for professional chainsaw chain sharpening can vary widely but may range from $10 to $30 or more, depending on the extent of the service required.
Considerations:
- Frequency of Sharpening: If you use your chainsaw frequently, the cost of DIY sharpening tools may be more cost-effective over time compared to regularly paying for professional services.
- Quality of Tools: Investing in higher-quality sharpening tools can contribute to better results and may last longer, potentially saving money in the long run.
- Skill Level: If you are new to chainsaw maintenance, there may be a learning curve to sharpening effectively. Professional services can provide consistent and reliable results.
Conclusion:
Regular maintenance, including sharpening your chainsaw chain with a file, is essential for both safety and optimal cutting performance. By following these step-by-step instructions, you can take control of your chainsaw’s maintenance and ensure it remains a reliable tool for your tree-cutting needs. Remember to prioritize safety, use the correct tools, and follow your chainsaw manufacturer’s guidelines for the best results. With a well-maintained chainsaw chain, you’ll be ready to tackle any cutting task with confidence.